

Quick answer: A sphere works because almost nothing else in a garden is a perfect circle, so it reads as deliberate at any distance. Use odd numbers in graduated sizes, place them low in planting rather than on plinths, and let them touch or overlap for the most natural grouping.
The sphere is the most quietly useful shape you can put in a garden, and it is one of the few that works equally well in a contemporary courtyard and a cottage border.
Why the shape works
Nothing in a garden is a true sphere. Plants are irregular, paving is rectangular, fences are linear. A perfect ball is instantly recognisable as something placed rather than grown.
It also has no front. Whatever angle you approach from, a sphere presents the same shape, which removes the orientation problem that animal ornaments have entirely. You cannot place it the wrong way round.
And it holds a view at long distance without detail, so it works where a figure would be lost.
Sizing: think in threes
Single spheres are surprisingly hard to place well. They look like something has escaped.
Groups work far better, and the useful rule is graduated sizes - a large, a medium and a small, rather than three the same. Equal spheres read as a set of objects; graduated ones read as a composition.
Odd numbers, as always. Three is plenty, five if the space is generous.
Let them touch
The single best trick with spheres, and almost nobody does it.
Spheres arranged with gaps between them look like they are waiting to be tidied. Spheres that touch, or overlap in the view from your main viewpoint, immediately read as one arrangement rather than three items.
Nestle the small one against the large one. Let them sit at slightly different depths so they overlap visually. It takes thirty seconds and it is the difference between a display and a group.
Place them low
Resist the plinth. A sphere on a pedestal looks formal and slightly municipal.
Spheres look best sitting on the ground, half-settled into low planting or gravel, as though they arrived there. Grasses and low mounding plants are the ideal neighbours - the soft irregular texture against the hard perfect curve is the whole point.
The one exception is a single large sphere as a focal point at the end of a sightline, which can carry a low base. The focal point guide covers that job.
Materials, and what each one does
Weathered metal. Warm, matt, non-reflective, and it sits well against green. Woven or openwork metal spheres also cast good shadows. The weathering steel guide covers the finish.
Stainless and mirrored. Reflects the garden back at you, which is striking and divisive. It also reflects the sky, so it changes through the day. Fingerprints and water spots show badly.
Stone-effect and cast. Heavy, stable, and it settles into planting convincingly. The resin guide covers what most of these actually are.
Glazed ceramic. The most colourful option and the most fragile - the one genuinely at risk from a hard frost.
Where they go
- Emerging from low planting at a border edge.
- In gravel, where the contrast of texture does the work.
- At the base of a tree or against a hedge, with a plain backdrop.
- Beside a step or a level change, where the curve plays against the straight line.
- In water, if you have any - a sphere half-submerged is one of the best things in a small pond.
Where they fail is in a busy mixed border in midsummer, where the shape disappears among leaves - the backdrop problem from the placement guide.
Lighting them
Spheres light unusually well because the curve grades from bright to dark on its own, so a single light source gives you shape rather than a flat lit face.
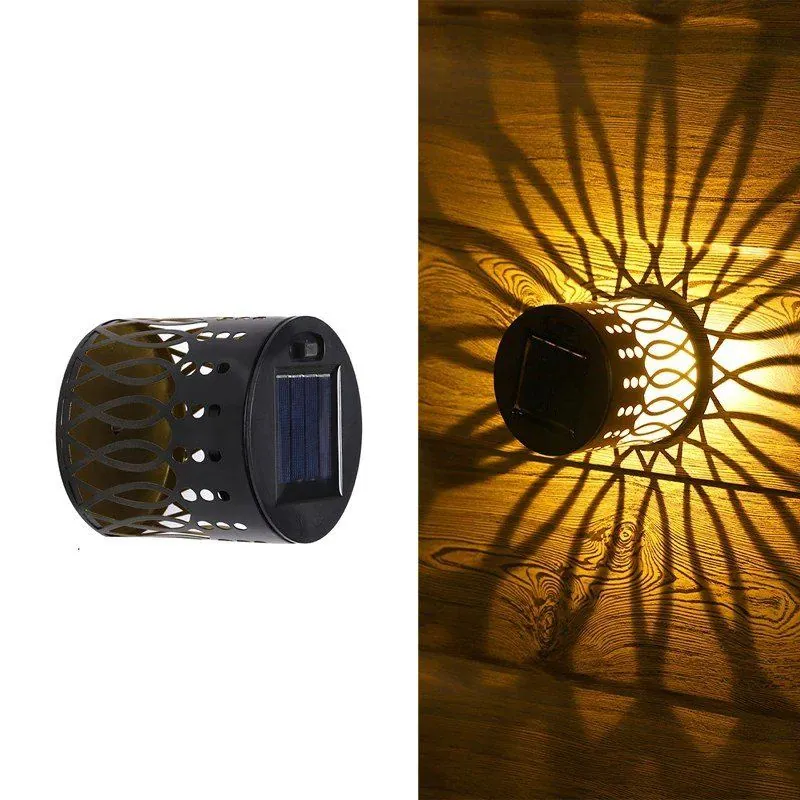
Light from the side and low. A wall or fence light behind a group throws them into silhouette, which is the cheapest dramatic effect available - the dark corners guide covers doing that with solar.
Practical notes
Spheres roll. On any slope, bed them into gravel or soil so they cannot move, and be careful on hard standing above a step.
Hollow metal and resin spheres are light enough to shift in strong wind. Filling or pegging them is worth doing at the outset.
And check they sit still. A sphere that rocks will wear a flat spot and eventually chip.
Spheres in winter
This is where they earn their money.
When borders are cut back and the garden is mostly bare soil and structure, a group of spheres is one of the few things that looks exactly as intended. Nothing about the shape depends on planting, so it does not become stranded the way a piece chosen to peep through foliage does.
Frost on a sphere is genuinely one of the better sights in a January garden, and a group of three will hold a view on its own until March.
Browse modern and contemporary pieces, metal ornaments and unusual pieces, with more in the contemporary versus traditional guide.
The short version
- A sphere reads as deliberate because nothing else in a garden is a true circle.
- It has no front, so it cannot be placed the wrong way round.
- Group three in graduated sizes rather than three the same, and let them touch or overlap.
- Place them low in planting or gravel - a plinth makes a sphere look municipal.
- The curve grades light on its own, so one low side light gives you real shape.
Frequently asked questions
Why do sphere ornaments suit gardens so well?
Because nothing else in a garden is a true circle, so a sphere instantly reads as something placed rather than grown. It also has no front, so it cannot be positioned the wrong way round from any viewpoint.
How many garden spheres should I group together?
Three, in graduated sizes rather than three the same. Equal spheres read as a set of objects while a large, a medium and a small read as a composition. Five works if the space is generous, but keep it to odd numbers.
Should garden balls be on plinths?
Usually not. A sphere on a pedestal looks formal and slightly municipal, whereas one sitting on the ground and half-settled into low planting or gravel looks as though it arrived there. Save the plinth for a single large focal piece.
How do I stop a group of spheres looking scattered?
Let them touch, or overlap in the view from where you usually look. Spheres with gaps between them look like they are waiting to be tidied, while nestling the small one against the large one reads as one arrangement.
How should I light a garden sphere?
From the side and low. The curve grades from bright to dark by itself, so a single low light gives you real three-dimensional shape, and a light behind a group throws the spheres into silhouette very effectively.